Introduction
Knowing your computer’s full hardware specifications isn’t just for tech-savvy enthusiasts, it’s essential for troubleshooting, planning upgrades, or ensuring software compatibility. In this guide, you’ll discover every method to extract comprehensive specs from your PC. By the end, you’ll confidently navigate built-in tools and third-party utilities, making hardware reporting a breeze. Let’s get started!
Don’t worry if you’re new to this, by breaking down each step, you’ll be a specs-checking pro in no time!
Table of Contents
Why You Need Full Hardware Specifications
- Troubleshooting & Support: When contacting support or browsing forums, having exact model numbers and clock speeds accelerates solutions.
- Upgrade Planning: Before buying new RAM, CPU, or GPU, you must know socket types, existing speeds, and compatibility.
- Software Requirements: Many applications and games publish minimum and recommended specs—knowing your hardware helps set expectations.
Key Components to Identify
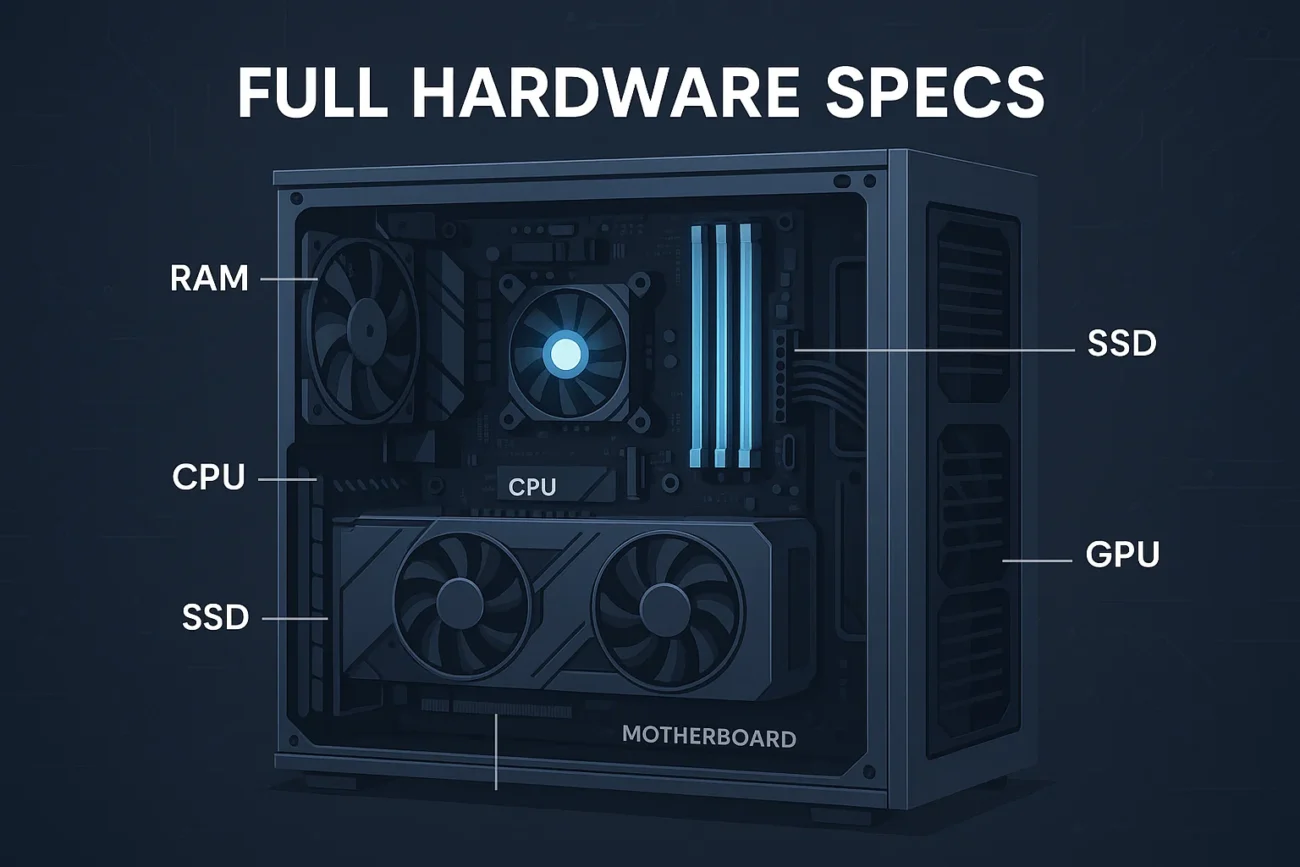
Before diving into tools, here’s a quick checklist of hardware details you’ll want:
| Component | Details to Note |
|---|---|
| CPU | Model, core count, thread count, base/max clocks |
| GPU | Model, VRAM size, driver version |
| RAM | Total capacity, stick count, frequency, type (DDR3/4/5) |
| Motherboard | Manufacturer, model, chipset, BIOS version |
| Storage | Drive type (HDD/SSD), capacity, interface (SATA/NVMe) |
| Network | Ethernet/Wi-Fi adapter details |
| BIOS/UEFI | Version, build date |
| Peripheral Buses | USB, Thunderbolt versions |
Built-In Windows Tools
1. DirectX Diagnostic Tool (DxDiag)
- Press Windows + R, type
dxdiag, and hit Enter. - In the System tab, view OS, processor, memory, and DirectX version.
- Switch to the Display and Sound tabs for GPU and audio hardware.
Tip: Click Save All Information to export a text file with every detail.
2. System Information (msinfo32)
- Press Windows + R, enter
msinfo32, then Enter. - The System Summary page lists OS version, BIOS, processor, and RAM.
- Expand categories (e.g., Components → Storage) for drives, USB, and more.
This tool is incredibly thorough—take your time exploring each branch.
3. Device Manager
- Right-click Start → Device Manager.
- Expand categories (e.g., Display adapters, Disk drives) to see device names.
- Right-click a device → Properties → Details tab → select Hardware Ids for vendor and model codes.
Tip: Hardware IDs help identify obscure or generic-named devices.
4. PowerShell Commands
- Get processor info: powershellCopyEdit
Get-CimInstance Win32_Processor | Select-Object Name, NumberOfCores, NumberOfLogicalProcessors, MaxClockSpeed - List memory modules: powershellCopyEdit
Get-CimInstance Win32_PhysicalMemory | Select-Object Manufacturer, Capacity, Speed, MemoryType - Storage details: powershellCopyEdit
Get-Disk | Select-Object Number, FriendlyName, OperationalStatus, Size
PowerShell can automate repeated checks—perfect for IT pros!
Third-Party Utilities for Windows
CPU-Z & GPU-Z
- CPU-Z: Displays processor, caches, mainboard, and memory details.
- GPU-Z: Provides GPU specifications, clocks, memory size, and sensor readings.
- Download from the official site.
- Run the portable
.exe—no installation needed. - Export reports as
.txtor.html.
The clean interface makes identifying specs quick and painless!
Speccy
- Features: Summary and deep-dive tabs for each component; real-time temperatures.
- Usage: Install, launch, and let Speccy gather data. Click File → Save as Text/Picture.
Tip: Use Speccy’s snapshots to compare before/after upgrade changes.
HWiNFO
- Professional-grade detail: BIOS info, sensor readings, RAID, NVMe SMART data.
- Steps: Download the installer or portable version, launch HWiNFO64 (64-bit).
- Reporting: Summary-only or Sensors-only modes; Report → Save Report.
If you need the absolute most data, HWiNFO is unbeatable!
Checking Specs on macOS
- Click the Apple logo → About This Mac.
- View overview: macOS version, processor name/speed, memory, graphics, and serial number.
- Click System Report for full hardware breakdown—storage, network, USB, Thunderbolt, and more.
- Export via File → Save….
Even if you’re switching from Windows, these steps are straightforward!
Inspecting Hardware on Linux
Terminal commands are your friend: CommandPurposelscpuCPU architecture and core detailslsblk -o NAME,SIZE,TYPELists storage devicessudo lshw -shortComprehensive hardware listlspci -vPCI devices (GPU, network adapters)dmidecode -t baseboardMotherboard manufacturer & model
- Graphical tools like Hardinfo or inxi (install via package manager) give GUI or single-command summaries.
Tip: Prepend
sudofor full detail inlshwanddmidecode.
Comparing Tools: Features & Depth
| Tool | Built-In? | Ease of Use | Depth of Detail | Exportable Reports |
|---|---|---|---|---|
| DxDiag | Yes | ★★★★☆ | ★★★☆☆ | TXT |
| msinfo32 | Yes | ★★★☆☆ | ★★★★☆ | Natively TXT |
| CPU-Z | No | ★★★★★ | ★★★★☆ | TXT/HTML |
| HWiNFO | No | ★★☆☆☆ | ★★★★★ | TXT/CSV |
| Speccy | No | ★★★★☆ | ★★★☆☆ | TXT/JPG |
| lshw (Linux) | Yes | ★★☆☆☆ | ★★★★☆ | – |
Choose the tool that balances simplicity and depth for your needs!
Advanced Info: BIOS/UEFI & Firmware Versions
- Windows:
- System Information (
msinfo32) → BIOS Version/Date. - Command Prompt: cmdCopyEdit
wmic bios get manufacturer, smbiosbiosversion, releasedate
- System Information (
- macOS: System Report → Hardware → Boot ROM Version.
- Linux: bashCopyEdit
sudo dmidecode -t bios
Tip: Updating BIOS/UEFI can improve stability—always check your motherboard vendor’s site for the latest build.
Best Practices to Document and Save Your Specs
- Save Reports: Always export text or HTML snapshots after gathering specs.
- Version Control: Store reports in a dedicated folder (e.g.,
C:\HardwareReports\). - Date-Stamp Files: Include the date in filenames (e.g.,
Specs_2025-05-29.txt). - Cloud Backup: Keep a copy in OneDrive, Google Drive, or Dropbox for remote access.
Regular snapshots let you track hardware changes over time!
Conclusion & Next Steps
By following this guide, you now have all the knowledge needed to check every aspect of your PC’s hardware—on Windows, macOS, or Linux. Whether you’re troubleshooting, upgrading, or merely curious, you can choose the right tool for your level of detail.

